Advertisements
DIY Ice Bath at Home: How I Stopped Overthinking It and Just Got Cold
Here’s a wild stat for you — cold water immersion can reduce muscle soreness by up to 20% after intense exercise. I remember reading that a couple years ago and thinking, “Alright, I need one of these things.” But then I looked at the price of commercial cold plunge tubs and nearly fell out of my chair. So I did what any stubborn, budget-conscious person would do. I built my own DIY ice bath at home!
Honestly, it was one of the best decisions I’ve made for my recovery routine. And it was way easier than I expected.
Why You Don’t Need a Fancy Cold Plunge Tub
Look, those sleek cold plunge systems you see on Instagram are gorgeous. No argument there. But they can cost anywhere from $2,000 to $10,000, and for most of us, that’s just not realistic.
The truth is, your body doesn’t care if the cold water comes from a $5,000 machine or a stock tank from Tractor Supply. Cold is cold. What matters is getting the water temperature right and actually sticking with the practice.
What You Actually Need to Get Started
When I first set up my home ice bath, I overthought everything. I was researching chillers, filtration systems, insulation materials — the whole nine yards. Then a buddy of mine said, “Dude, just get a big container and some ice.” He was right.
Advertisements
Here’s my basic setup list:
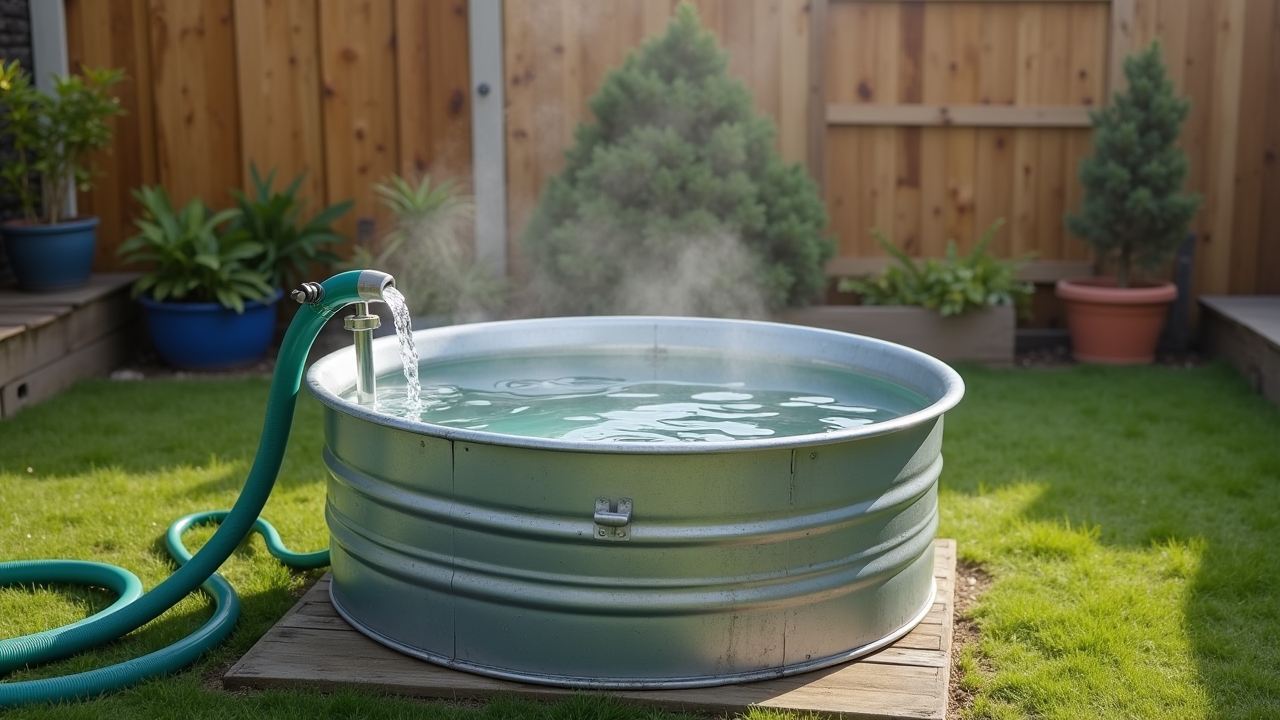
- A container: I use a 100-gallon Rubbermaid stock tank. It fits me fine and I’m 5’11”. Chest freezers that have been converted also work great if you want something more permanent.
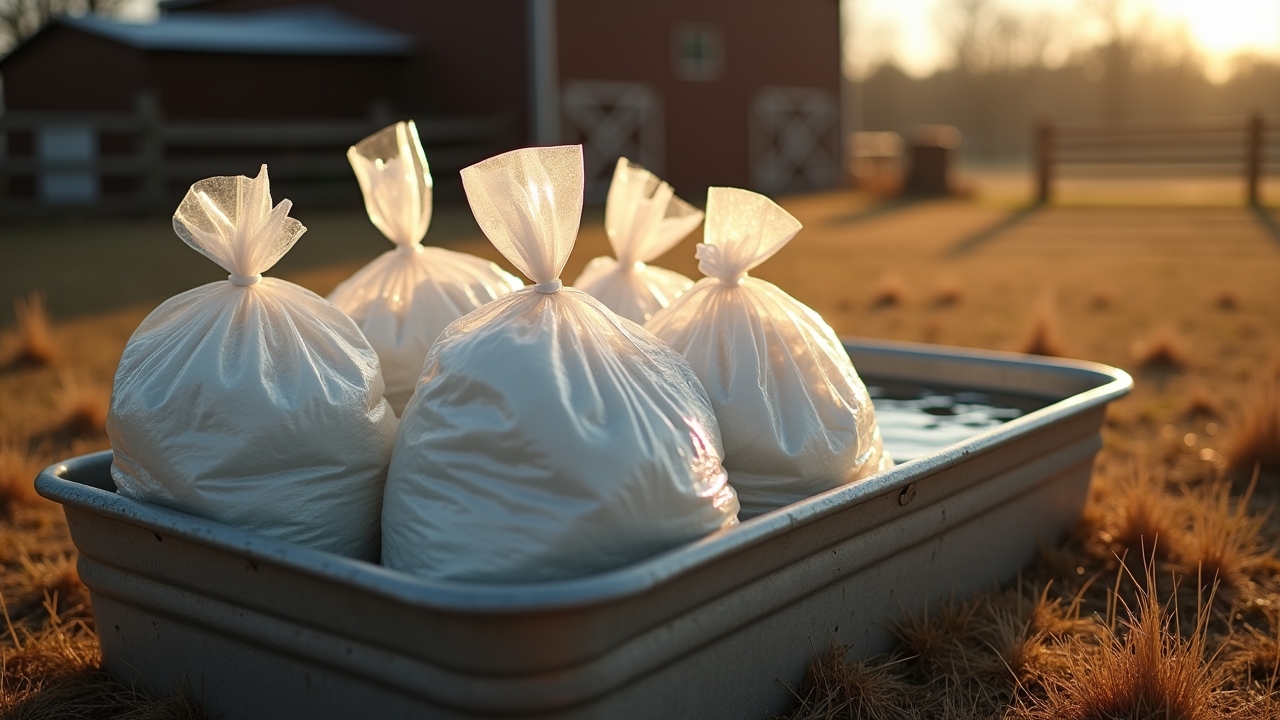
- Ice: About 40-60 pounds per session gets my water down to the right temp. I buy bags from the gas station, which ain’t glamorous but it works.
- A thermometer: This is non-negotiable. You want to know your water temperature, ideally between 50-59°F (10-15°C) for beginners.
- A timer: Your phone works. Start with 2 minutes and build up gradually.
The Mistakes I Made So You Don’t Have To
My first attempt was a disaster. I dumped all the ice in at once, jumped in immediately, and the water was probably around 35°F. I lasted maybe 45 seconds before my legs went completely numb and I panicked getting out. Not fun.
Here’s what I learned the hard way. Add the ice about 15 minutes before you get in and stir the water so the temperature evens out. Also, start warmer than you think you need to — around 60°F is totally fine when you’re new to cold water therapy. There’s no trophy for freezing yourself on day one.
Another mistake? I set my tub up on my back deck without thinking about drainage. After my first session, I had to bail out 100 gallons of water with a bucket because the drain wasn’t near a proper runoff area. Lesson learned.
How to Make Your DIY Ice Bath Routine Actually Stick
The setup is the easy part. Consistency is where most people fail, myself included for the first few weeks. What helped me was tying it to something I already did. I take my cold plunge right after my morning workout, three times a week.
Breathing techniques make a huge difference too. I follow a simple Wim Hof style breathing pattern before getting in — it calms the nervous system and makes that initial shock way more manageable. Seriously, don’t skip this part.
Also, having a warm robe or towel ready right next to the tub is a game changer. You’ll thank yourself when you’re shivering and don’t want to walk across the yard dripping wet.
Take the Plunge — Your Way
Building a DIY ice bath at home doesn’t have to be complicated or expensive. Start simple, listen to your body, and adjust as you go. Everyone’s tolerance and setup is gonna be different, and that’s perfectly okay.
One important reminder though — if you have any heart conditions or circulatory issues, please talk to your doctor before starting cold water immersion. Safety always comes first.
If you’re hungry for more tips on cold exposure, recovery methods, and getting the most out of your practice, head over to the Freeze Method blog. We’ve got plenty of guides to help you on this chilly little journey!